Volleyball Drill Classics: The Butterfly Drill
In today’s drill, I’m going to share the first “Butterfly Drill” I learned as a player, and explain how you can change it using variations (my favorite thing to do).
The butterfly drill is named after the shape of the action. That one took me a long time to figure out, but it is now glaringly obvious.
Essentially, butterfly drills are meant to keep the action rolling, with player-initiated contacts, constant movement, high energy, and LOTS of running (so fyi, this is a great conditioning drill that still incorporates a lot of volleyball).
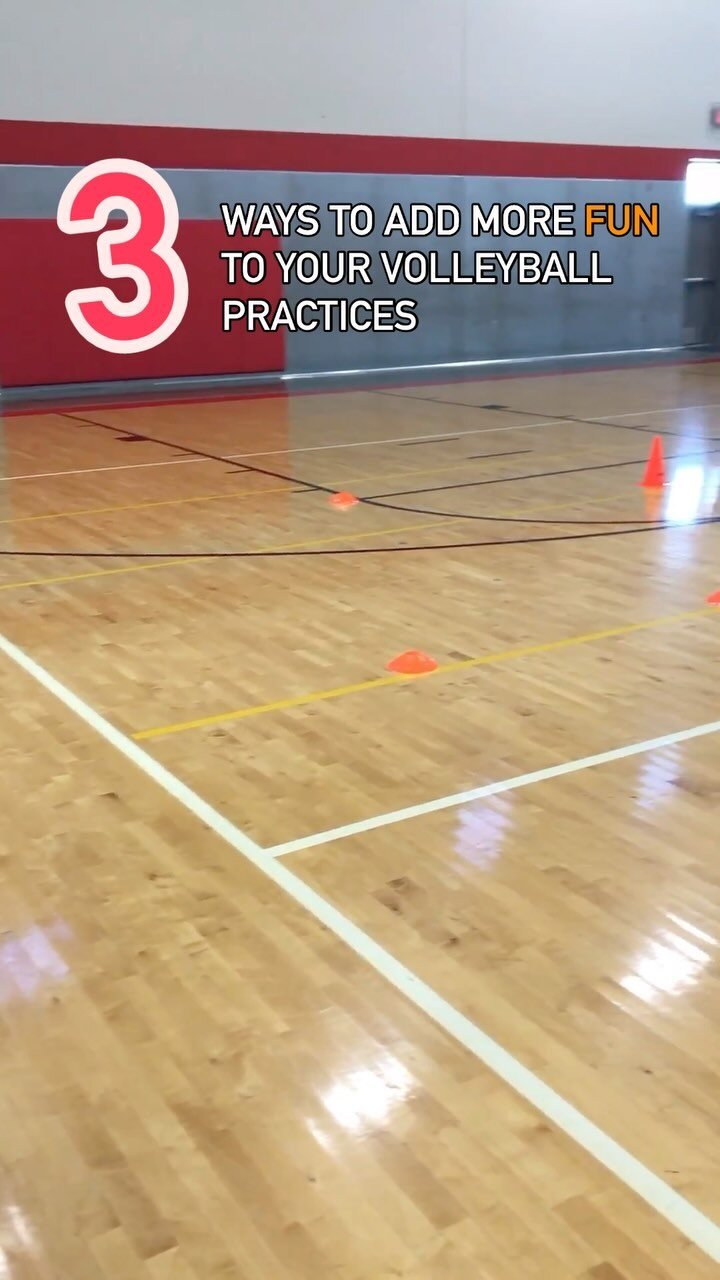
DRILL SETUP
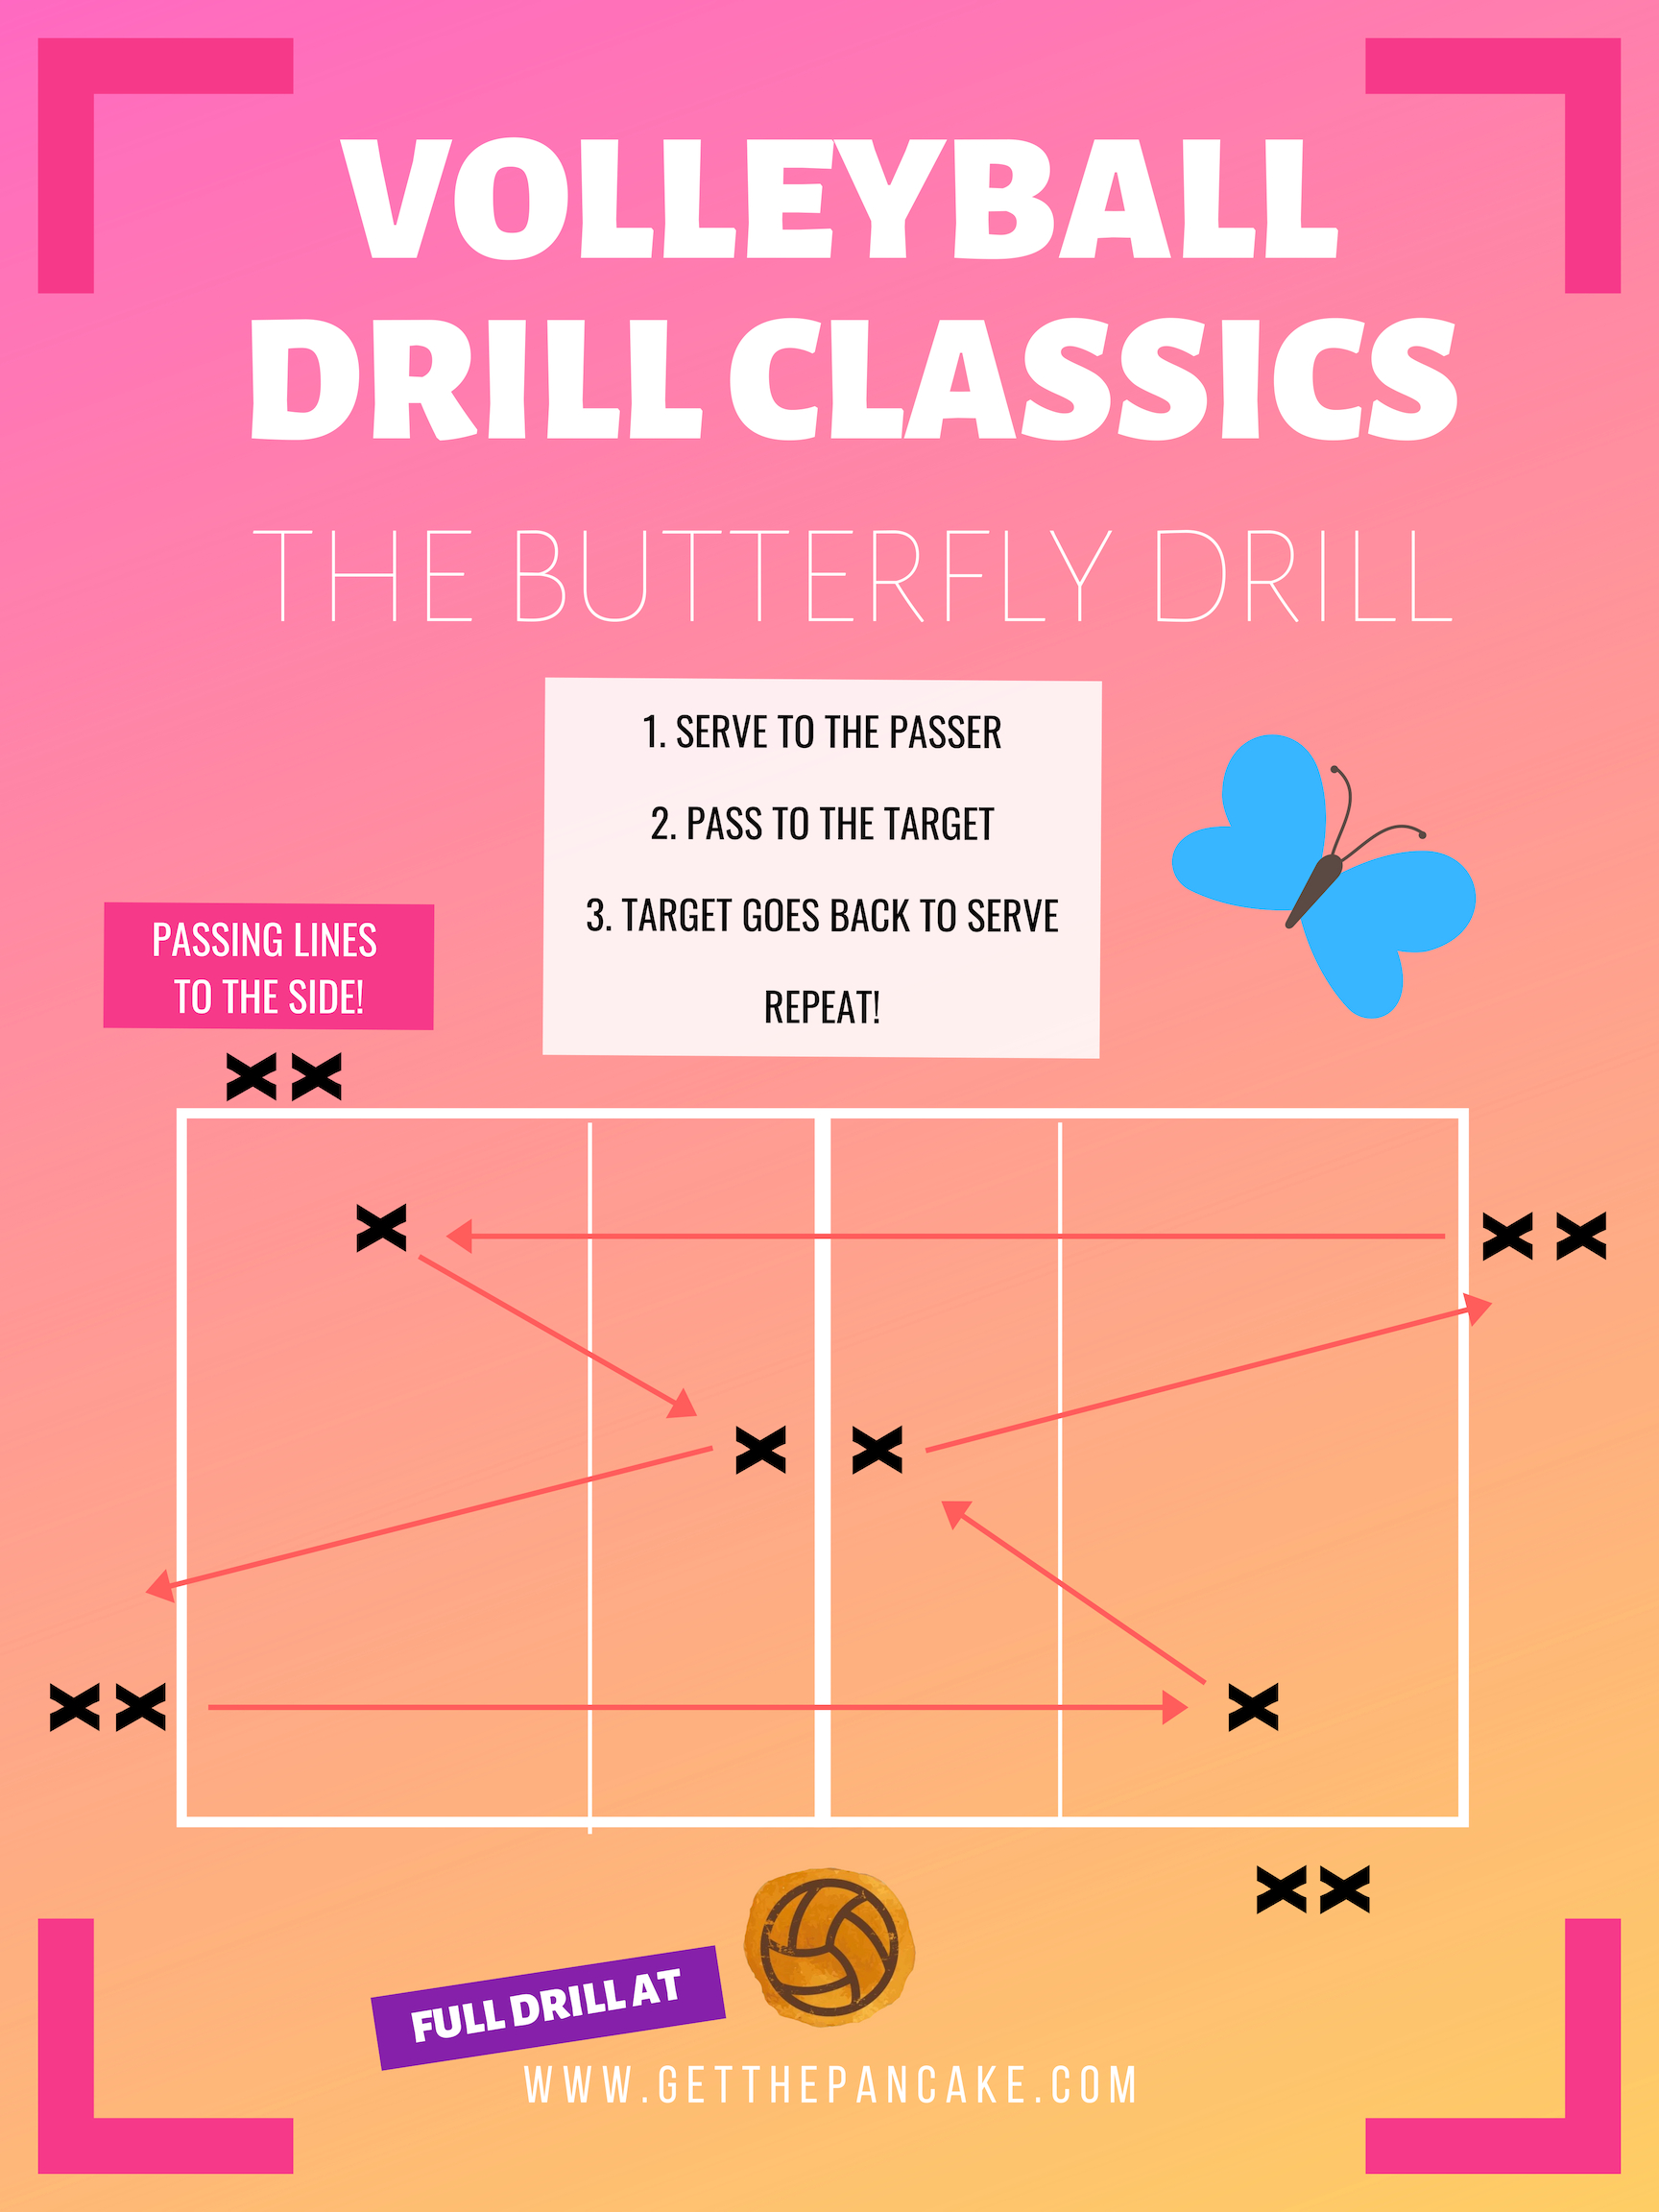
In the version of the butterfly drill I was first taught (there are tons of versions floating around out there…) you’ll place players around the court as shown in the drill diagram. Players will always follow their ball, but for some reason this seems to be a difficult concept to understand for players (of all ages!).
I recommend you take the ball cart away to encourage better control. The thought of having to shag tends to make players try harder! haha. This also limits the number of balls which are rolling around on the court, so there’s less chance for injury.
RUN THE DRILL
Players in the corners will start the drill by serving the ball straight across the net to the passing line directly in front of them. The passers will then pass the ball to the target. The target will grab the ball and go to the serving line on the SAME side of the net that they are standing on. Repeat!
Both servers begin serving at the same time, but the following servers will serve whenever the next passer is ready.
I recommend running through the drill for a minute or two with tosses so you know for sure that everyone understands where to go. When players are in the target position is when they tend to run to the wrong destination, so emphasize that they’ll need to stay on their own side after they shag the pass.
I like to run this for time (since counting gets messy trying to count with both sides going at a time).
YOU MAY ALSO LIKE: VOLLEYBALL DRILL CLASSICS: QUEEN OF THE COURT
I recommend you run this for about 5 minutes, and then have everyone freeze!
Have the servers roll their ball to the passing line across the net from them, and then switch directions (eg., the passing line is now serving towards what was previously the serving line, now the passing line). This will help players work on passing from different sides of the court, facing a line serve, and working on controlling the angle of their platform. Go for another 5 minutes or so.
VARIATIONS
Players having trouble controlling the ball? Not a problem! Make this drill beginner-friendly by having the players scoot further into the court and serve from about 10-15’ back from the net.
Still having some control issues? TOSS the ball over instead of throwing it! Want to mimic a float serve? Soccer throw it (both hands overhead)! What about a topspin? Bowl it (one-handed underhand… with pace!).
You can also add requirements to the passers, i.e., having them pass to themselves, then pass to the target. Or pass to themselves, then set to the target. Get creative!
LET’S GET SOCIAL! FOLLOW @GETTHEPANCAKE ON INSTA!